|
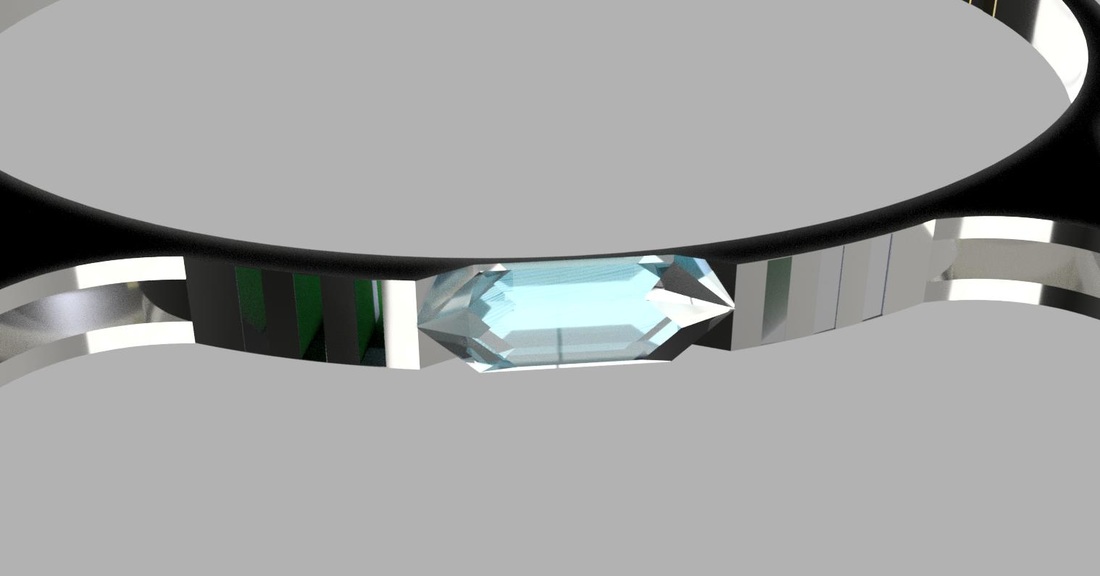
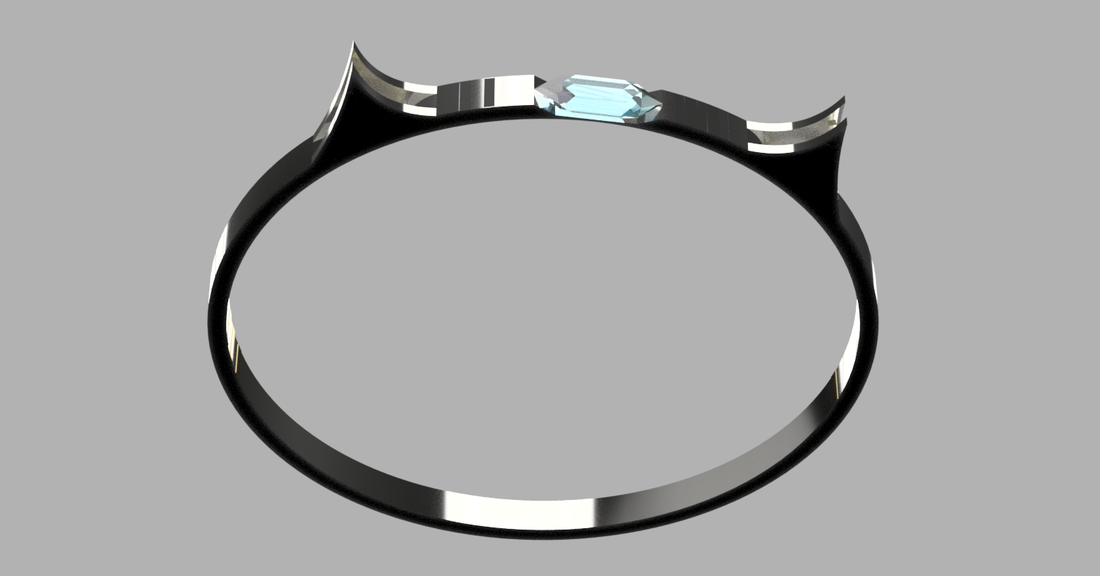
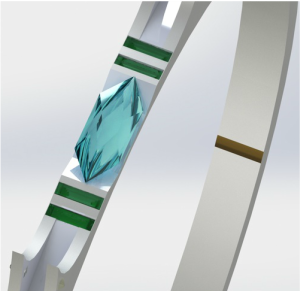
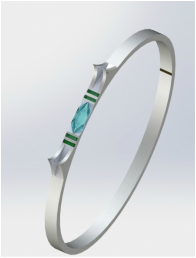
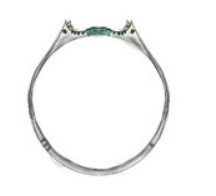
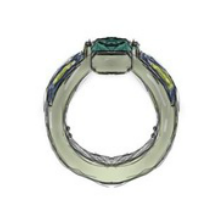
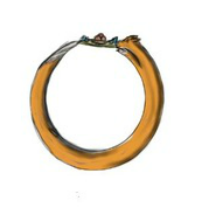
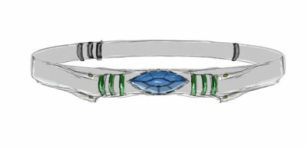
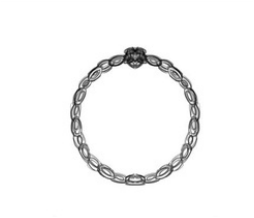
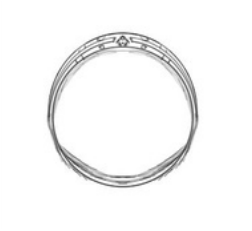
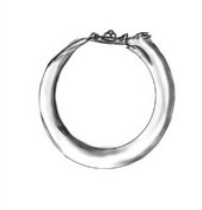
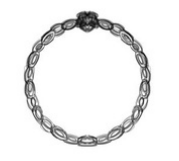
I re did my overall model of my ring due to the extra time we were given. Here is the result. Also I used a new software for the renders called adobe fusion.
0 Comments
This week I prepared my finalized renders. For my model I had to improvise with the time I had left so I took out some minor details from the design such as a third emerald next to the sapphire in the center and the extra 3 gold compression tabs on the inner side of the ring. The design still resembles the sketch very closely. 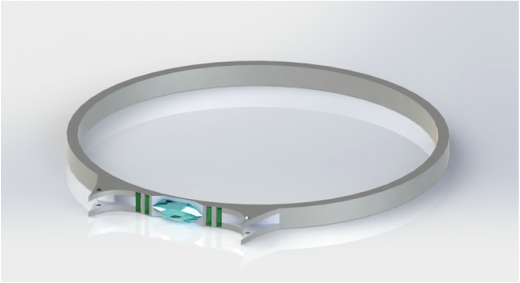
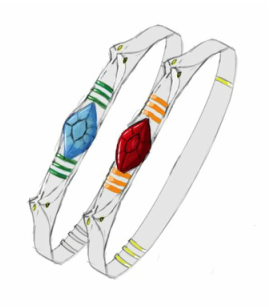
I began to create my more refined sketch of the ring I chose. I also refined the raw sketches quite a bit. The first pictures below showcase the raw sketches with color, and under that are the refined sketches and a color variation of the ring I chose to create.
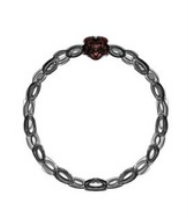
We began our summative and it was decided that we would either create a piece of jewelry or a perfume bottle. I don't really like the topics but hey, its my summative. Cant complain. Anyways, I decided I would try to create a ring. I gathered my research images and began sketching. I've created 5 ring designs so far. Here they are below.
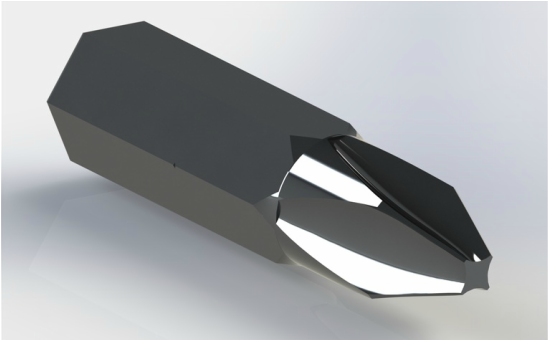
This week we began our actual screw tip part designs. We were left alone to create our own separate screw tip parts. Below is the end results of the two that we made. We also created a simulation of what the screwdrivers would look like if we attached the tips onto them. The result of that can also be found below.
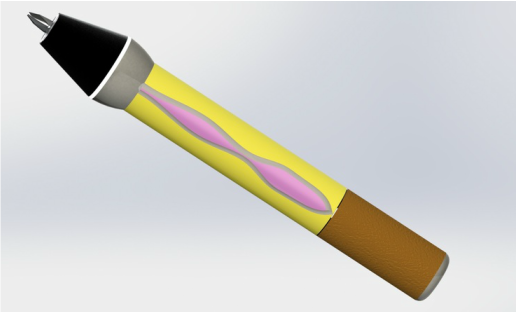 We were told to create a separate part that we could detach and attach to our screwdriver at will. We were also required to modify our screwdriver to fit the tips since everyone in the class was to make one that would fit any screwdriver in our class. Below is the final product of the open tip screwdriver.   This week I created my fully refined sketch. Im pretty proud of how it ended up honestly. I also began creating and finishing up my rendered handle. The final step will just be to add the screwdriver tip.
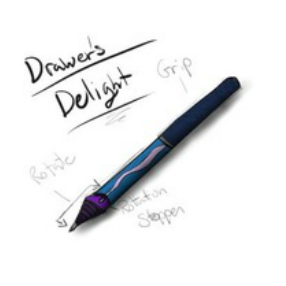
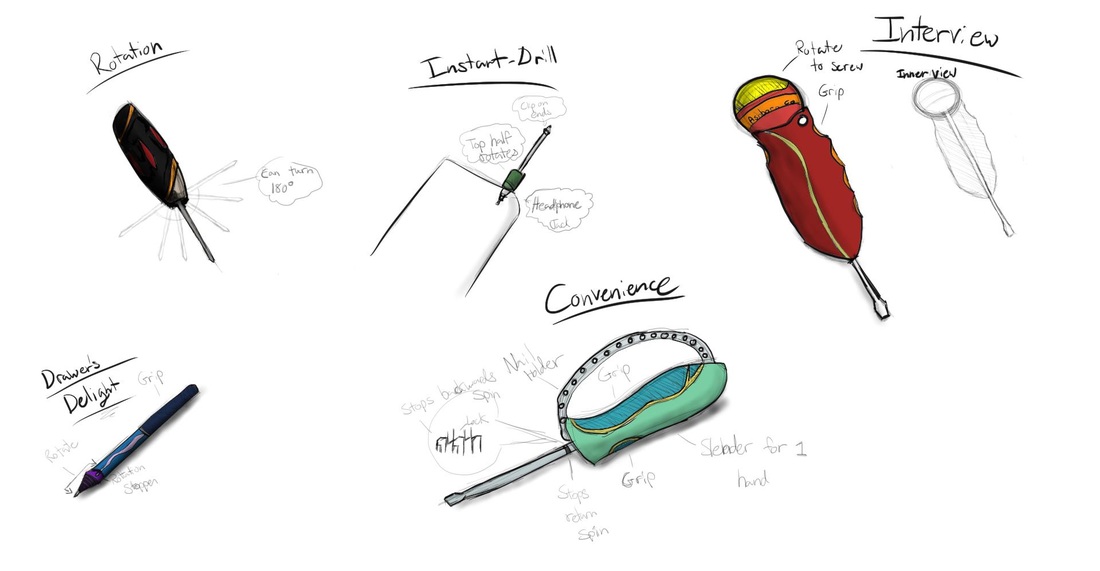
 This week we began our fourth assignment on creating a custom screwdriver design. We were to research some designs which we liked and thought we could improve or incorporate into our designs. We also created sketches this week and are hoping to begin modeling next week. Here is the research and the related designs I created this week. The design I've narrowed myself down to creating is the "Drawer's Delight" that I came up with. I am still in the process of creating the refined sketch page for it so showcase but I should be finished by the end of Tuesday.
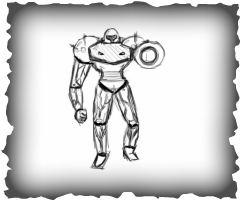
 This week we created a layout page for our replicas and their measurements. Since I finished earlier in the week I decided to create some design drawings for fun on other subjects. The fly face and the armored suit are just some sketches I put together in a few days.
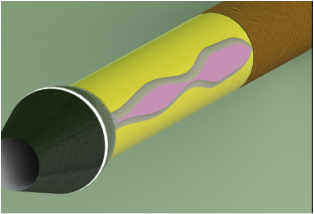
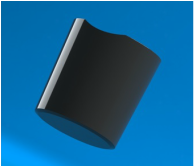
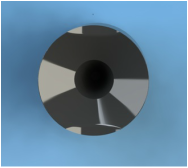
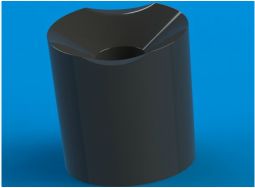
This week we were given our third assignment. The assignment was to create a replica of a Wacom stylus holder. We were given the appropriate tools to measure all aspects of the holder accurately and were given some new software tips for a more accurate replica. My end result of the replica is as shown. It is given the glossy black plastic texture and has all measured proportions of the original.
|
Ashborn BinapalIm a Grade 11 student in training on animation techniques and sketching. Archives
June 2016
Categories |
||||||||||||||||||||||||||||||


 RSS Feed
